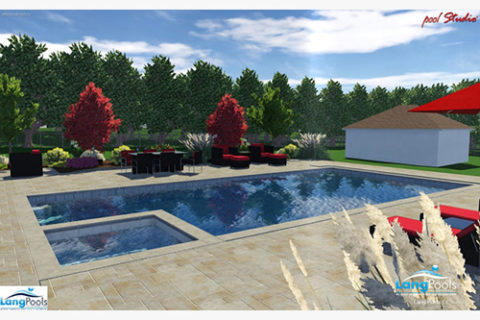
Construction Process
How a Lang Pool is Built
We’ve created two articles that reveal our construction process in depth.
Gunite Construction | Vinyl Construction
The Gunite Construction Process
The process of building your swimming pool environment begins with a pre-construction meeting with your project manager. During this meeting pool location and elevations will be finalized. Any questions you might have regarding the construction process will be addressed.
- Pool construction typically begins 1-3 weeks after permits are issued.
- It typically takes 6-8 weeks from excavation of the pool to completion.
- Extensive masonry work and landscaping can extend projects beyond 6 – 8 weeks.
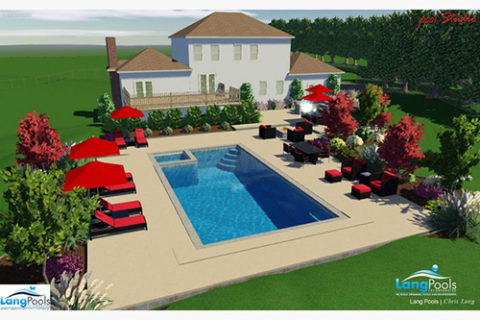
1. Pre-construction
Pre-construction includes finalizing the design, securing the building permit, and making sure the site has been properly prepared. Tree removal, if needed, should be completed before excavation begins and all underground sprinkler systems should be shut down. If there are any obstructions regarding access such as fences or landscaping it should be addressed at this time. Lang Pools can help facilitate if necessary.
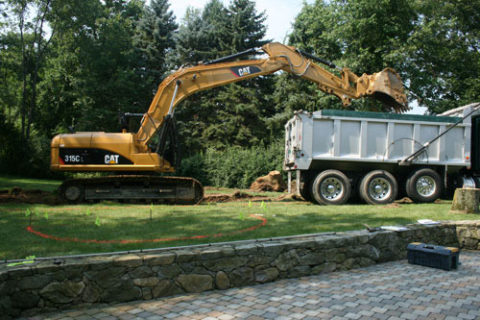
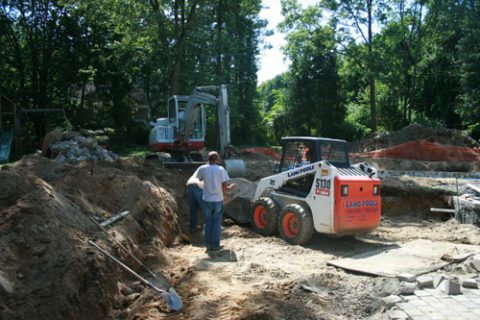
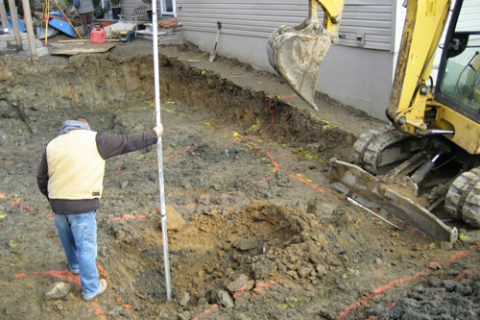
2. Excavation
The fun begins. A large excavator will be delivered to your site the night prior to excavation or the morning of. If materials are being removed from the site tri axel trucks will also be on site. Typically, excavation can be completed within 1-2 days.

3. Framing
Once the pool has been excavated we begin to install the forms. Using 2 x 4 and 1 x 4 lumber we form your pool shape. This form dictates the concrete shell “bond beam” elevation and is the guide for all things to come.
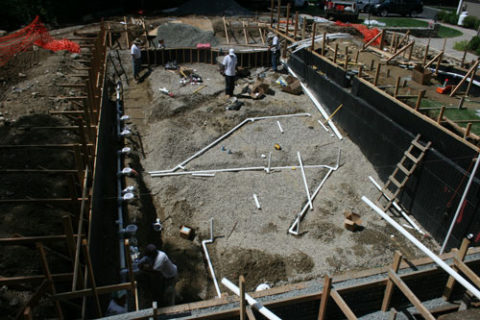
4. Steel Tex and Pool Interior Plumbing
Once the framing is complete we install a steel re-enforced waterproof membrane. This helps stabilize the excavated pool area and provides a secure backing for the concrete. We also install any plumbing that will be encased in concrete within the pool shell. Skimmers, main drains, return and vacuum lines are installed at this time and pressure tested.

5. Steel Framework
Next, the steel reinforcing framework is installed. Our steel designs are approved by a licensed engineer before this step begins. We install #4 (1/2” rebar) which is larger than industry standard #3(3/8”) that most competitors use. This is also the time we take care of the electrical bonding or grounding of the steel skeleton.
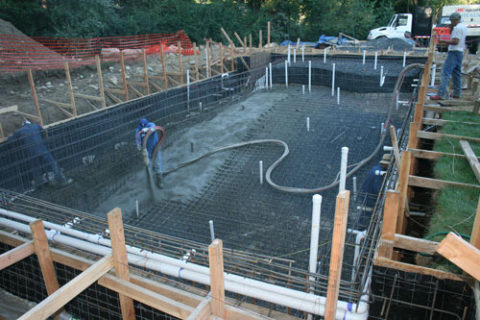
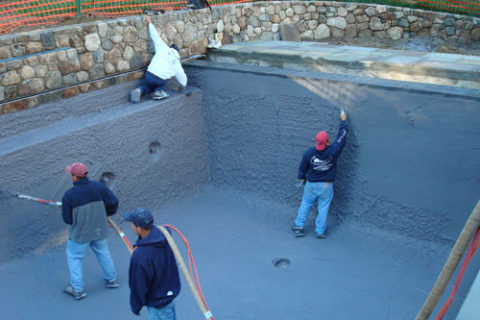
6. Concrete Shell
Next, and perhaps the most exciting step, is the application of the concrete. Also known as shotcrete or gunite, the concrete is pneumatically applied by trained professionals. It’s exciting to watch as your new pool starts to take shape. This is also when we will build your steps in the shallow end, any loveseats or benches, and any other custom features. Typically we allow 14 days for our pool shells to cure before applying plaster. Other phases of construction will occur during the curing process.
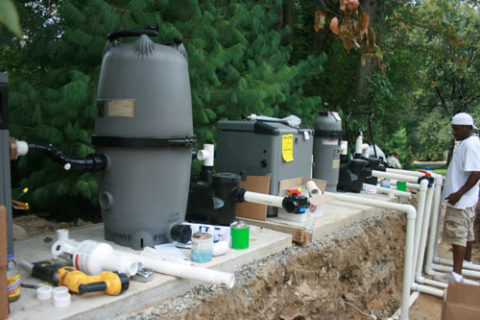
7. Electrical Wiring and Pool Equipment Plumbing
Next, we complete the electrical work and plumbing of the pool equipment. All equipment is placed on the finished concrete equipment pad and tied into the pool plumbing that was stubbed out of the concrete shell. All pool plumbing is once again pressure tested. If needed, an electrical panel is installed. Then all lights, pumps, heaters, switches, special features and control systems will be connected to the circuit breakers. (Depending on site conditions this stage can occur earlier in the construction process.)
8. Backfill
Once the concrete shell is completed we allow it to cure for a minimum of 3-5 days, then we return to remove all the wood forms and to backfill the voids surrounding the pool shell. This “rough grade” will level the terrain surrounding the pool and make way for your masonry work to begin.
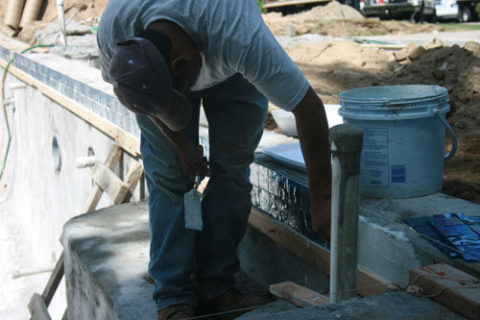
9. Tile Installation
Next, the six-inch band of decorative tile is installed and grouted. Any decorative floor tiles, step markers or benchmarkers are also installed at this time.
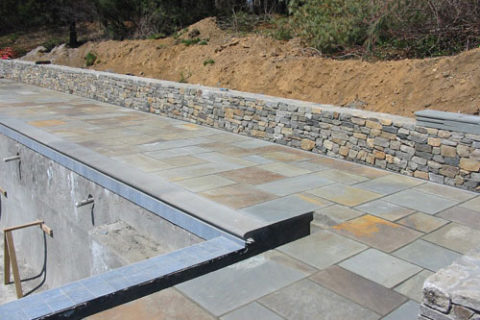
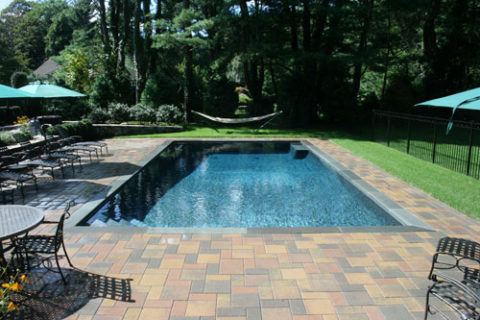
10. Deck Installation
Whether it’s bluestone set in cement, stamped concrete, decorative pavers or any of our other beautiful deck materials; you will begin to see the culmination of all the talented individuals who have been working on your site. This is truly when you begin to see your pool environment come together. Typically natural stone and decorative paver products take 2-4 weeks to install and poured concrete products can be completed within a week.
11. Applying the Interior Finish
The pool interior is hand-troweled white or colored plaster. Or, it may be one of the stunning new aggregate finishes such as Wet Edge Technology, River Rok or Diamond Brite. Typically this process is completed in 4-6 hours and then the pool is filled with water immediately. The water helps to cure the interior finish.
12. Pool Start Up
Finally, it is time for your pool's start-up and pool school. One of our service professionals will schedule a time to meet with you at your new pool. At that time, they will explain all of the operations and functions of the pool and answer any questions you might have. After that, the only thing left is for you to start swimming and enjoy your new Lang Pool!
The Vinyl Construction Process
The process of building your swimming pool environment begins with a pre-construction meeting with your project manager. During this meeting pool location and elevations will be finalized. Any questions you might have regarding the construction process will be addressed.
- Pool construction typically begins 1-3 weeks after permits are issued.
- It typically takes 4-6 weeks from excavation of the pool to completion.
- Extensive masonry work and landscaping can extend projects beyond 6 – 8 weeks.
1. Pre-construction
Pre-construction includes finalizing the design, securing the building permit, and making sure the site has been properly prepared. Tree removal, if needed, should be completed before excavation begins and all underground sprinkler systems should be shut down. If there are any obstructions regarding access such as fences or landscaping it should be addressed at this time. Lang Pools can help facilitate if necessary.
2. Excavation
The fun begins. A large excavator will be delivered to your site the night prior to excavation or the morning of. If materials are being removed from the site tri axel trucks will also be on site. All vinyl pools are over excavated by three feet to make room for the plumbing and support systems which are installed behind the pool panels. Typically, excavation can be completed within 1-2 days.
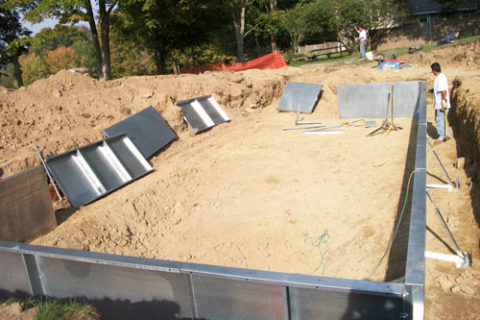
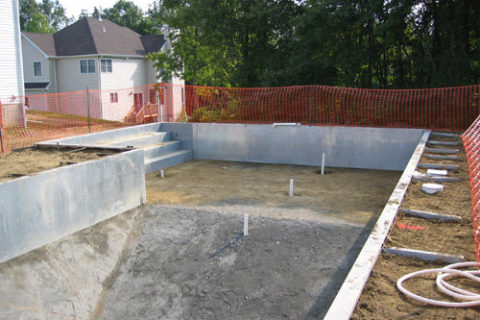
3. Panel Installation
Once the pool has been excavated our crews begin the process of installing the pool panels. Following engineer plans that map the exact location of each of your panels, the crew assembles the skeleton of your vinyl pool, including all deck supports and bracing systems. All panels are inspected to ensure that they are level, plumb and square. We then install the track channel to the top flange of the pool panel; this channel receives the liner bead and holds the liner in place.
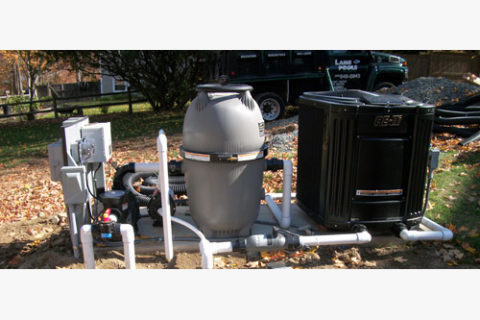
4. Plumbing and Electrical Connections
Next, we complete the electrical work and plumbing of the pool equipment. All equipment is placed on the finished concrete equipment pad and tied into the pool plumbing. All pool plumbing is pressure tested. If needed, an electrical panel is installed. Then all lights, pumps, heaters, switches, special features and control systems will be connected to the circuit breakers. This is also the time we take care of the electrical bonding or grounding of the pool equipment and steel panels.
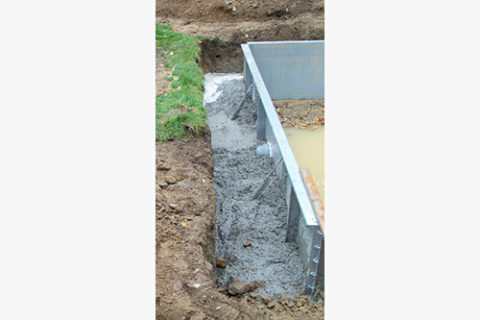
5. Concrete Footing
Once the pool panels are installed and plumbing is complete its time to pour the concrete footing. 3000 psi concrete encases all the pool panels, deck supports, bracing systems and plumbing creating a monolithic structure sure to withstand even the harshest of winters.
6. Backfill
Once the concrete footing has cured, typically 1-3 days we return to backfill the swimming pool. This “rough grade” will fill the three-foot over-excavation and level the terrain surrounding the pool, making way for your masonry work to begin.
7. Shaping
Next, we shape the interior contours of your pool bottom. Once again using engineer plans, we cut and carve the pool interior by hand using shovels and picks. This ensures that all interior elevations are correct and will conform to the liner.
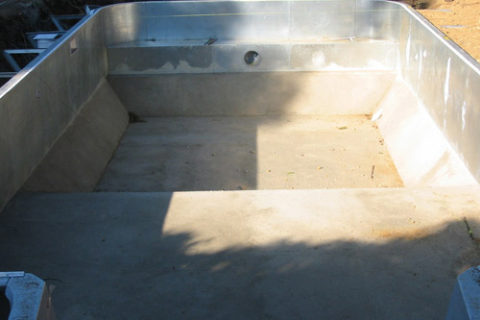
8. Vermiculite
Next, we install the vermiculite pool bottom. Vermiculite is a lightweight concrete product which creates a firm resilient base for vinyl liners, it also insulates a pool bottom from cold ground temperatures. It is a porous base that will not be affected by changes in water tables.
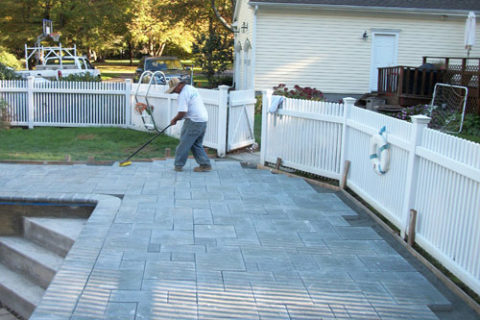
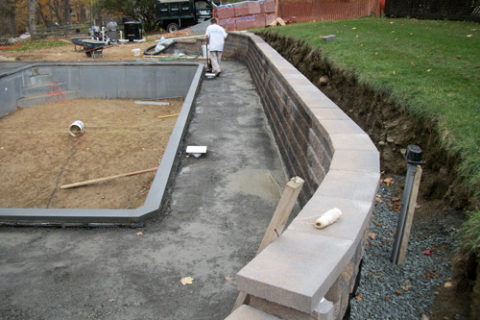
9. Deck Installation
Whether it’s bluestone set in cement, stamped concrete, decorative pavers or any of our other beautiful deck materials; you will begin to see the culmination of all the talented individuals who have been working on your site. This is truly when you begin to see your pool environment come together. Typically natural stone and decorative paver products take 2-4 weeks to install and poured concrete products can be completed within a week.
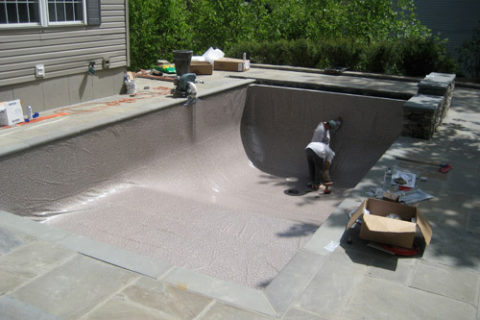
10. Liner Installation
Liner installation day is a bit chaotic but very exciting. We begin by cleaning out any debris that might have settled onto the pool floor or that is clinging to the pool panels. We then install 1/8th inch wall foam to the pool panels using spray adhesive. This foam insulates the steel panels and creates a soft environment for the liner to lie against. Next, we remove the liner from its packing and very carefully position it into place.
Vacuums are placed behind the liner creating an air tight seal; this allows us to see if the liner is positioned correctly and also holds the liner in place until the water delivery arrives to permanently set the liner. If the liner appears to be out of place the vacuums are shut down and we manipulate the liner until it’s just right. As the water in the pool rises we install all the face plates, return fittings and lights. Once the water has reached the appropriate level to hold the liner in its place we remove the vacuums and perform one final inspection to ensure the liner bead is secure in its track channel.
11. Pool Start Up
Finally, it is time for your pool's start-up and pool school. One of our service professionals will schedule a time to meet with you at your new pool. At that time, they will explain all of the operations and functions of the pool and answer any questions you might have. After that, the only thing left is for you to start swimming and enjoy your new Lang Pool!